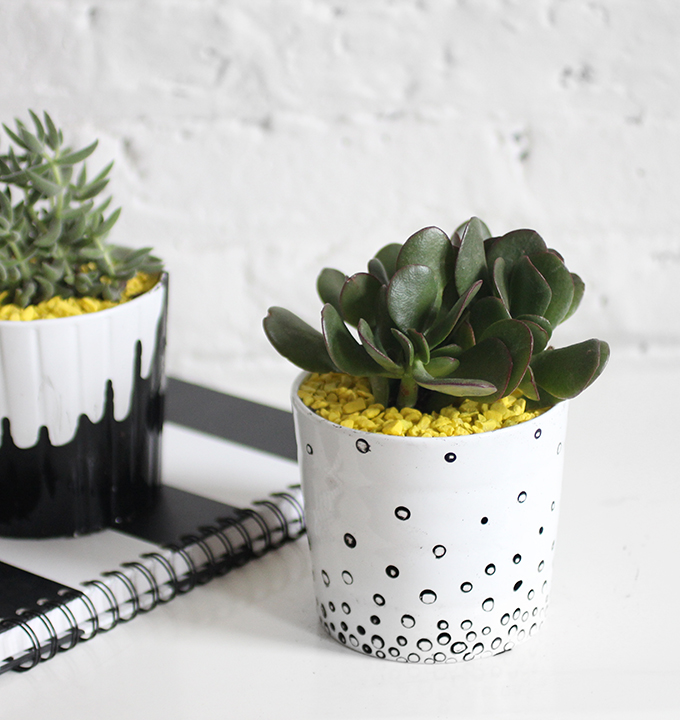
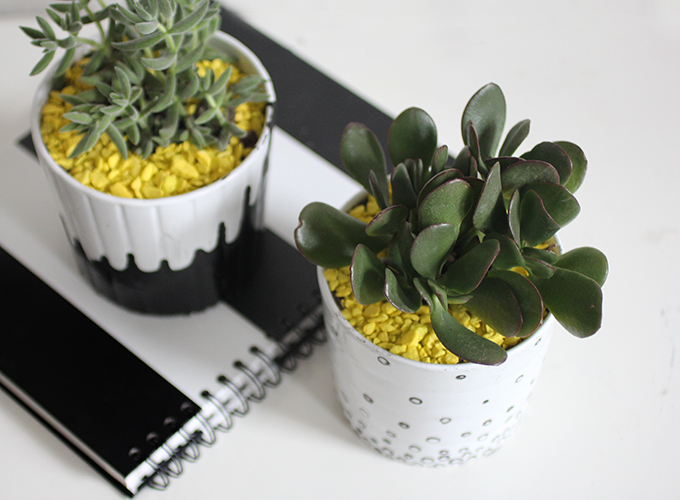
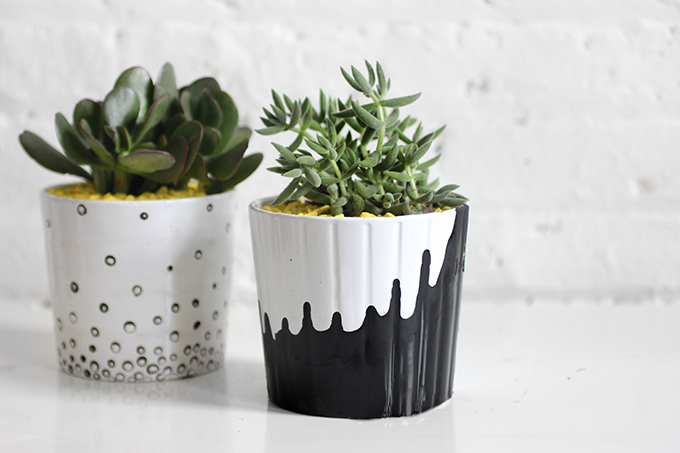
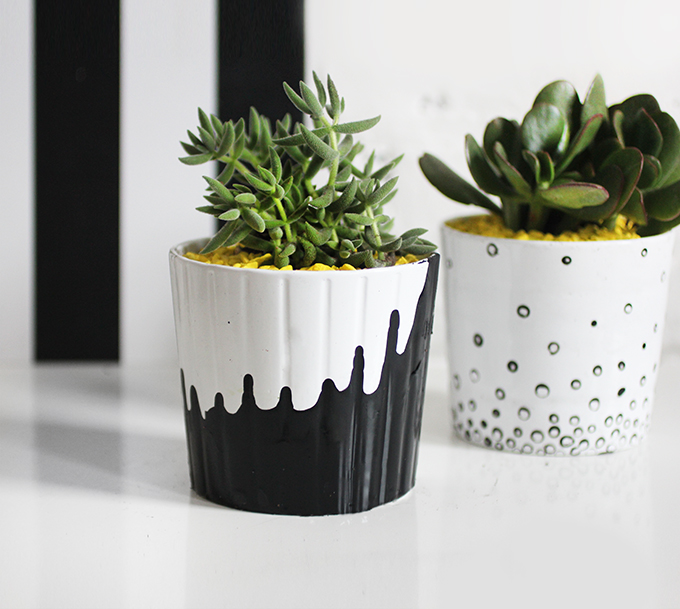
I did a little experimenting yesterday (and made a huge mess) with a couple painted pot techniques. I found a bunch of cheap pots at Ikea, and used them for my guinea pigs before moving on to my one-of-a-kind thrifted items. The pot with the vertical grooves worked perfectly for dripping because it provided a track for the paint. The dotted one was a happy accident that came about after attempting to wipe off a pattern I started. The dried edges go paint remained, and I loved the result so much, I decided to finish off the pot in the same style!
As a side note: Succulent shopping makes me the happiest. Check out my past posts for a how-to on planting succulents, and a DIY chalkboard flower pot. Also, thanks Mom for the Home Depot recommendation, they have great succulents! Steps for this project are after the break….
What you need:
White porcelain pot
Porcelain paint
Paintbrush
Succulents
Rag
Yellow aquarium gravel
Succulent soil
White porcelain pot
Porcelain paint
Paintbrush
Succulents
Rag
Yellow aquarium gravel
Succulent soil
What to do
Dotted Pot:
First, I set my pot on a roll of duct tape so I could work on its side without it rolling.
Dot half of your pot with the porcelain paint. I used the end of my paintbrush and dabbed on paint to get clean, round circles.
Next, let dry for 5 minutes…don’t forget about it!
Use the dry washcloth to wip off the wet center of the circles. Then use a little water on the washcloth to remove the excess paint. Don’t rub to hard! Let dry for 24 hours.
Bake pot in the oven : 35 minutes at 300°F in domestic oven. Done!


No comments:
Post a Comment